Lists are underrated. From items to purchase on a shopping trip to essential steps in a life-saving surgery, lists are extremely helpful for making sure you don’t forget anything.
They are useful too, especially in JavaScript
I know what you are thinking. Lists? Wow, who cares?
Well, I didn’t.
Until I learned about them and discovered an endless array of applications (there’s a joke you’ll only understand after you finish reading this guide).
And, once you learn about lists in JavaScript you’ll be surprised at how many applications they have.
This guide will help you understand how to read, write and use lists in JavaScript.
An array is a list
A list of items in JavaScript is called an array.
An array allows you to group items and store them in a single variable.
Here’s what an array looks like with items in a shopping list:
var groceryList = [
"eggs",
"butter",
"milk",
"bread"
];
Without an array, you’d need to write out something like this, which is not practical when you have hundreds of items:
var groceryListItem1 = "eggs";
var groceryListItem2 = "butter";
var groceryListItem3 = "milk";
var groceryListItem4 = "bread";
An array can contain a mix of data types, it’s not limited to strings as in the example above.
Here’s what an array looks like with mixed data types (strings and numbers):
var groceryList = [
"eggs",
12,
"butter",
 1,
"milk",
1,
"bread",
1
];
You can also create an empty array and populate it with items later.
Here’s what creating an empty array looks like:
var groceryList = [];
And you can also put arrays within arrays, here’s what this looks like:
var groceryList = [
"eggs",
12,
"butter",
1,
"milk",
1,
"bread",
1,
["chicken","steak","pork"]
];
Array Syntax
The nice thing about arrays is they are pretty straightforward and their syntax is not too complicated. At most you’ll need to remember a few rules.
Let’s take a look at the syntax of an array by deconstructing our grocery list from the example above.
var groceryList = [
"eggs",
12,
"butter",
 1,
"milk",
1,
"bread",
1
];
var groceryList = creates, names and assigns the array to the variable named groceryList.
The square brackets [ ] define the array body — everything contained within the start bracket [ and end bracket ] are part of the array. Within the array body, each item is separated by a comma.
Next, let’s take a look at writing an array and accessing the data within it.
Writing an array and accessing the items in it
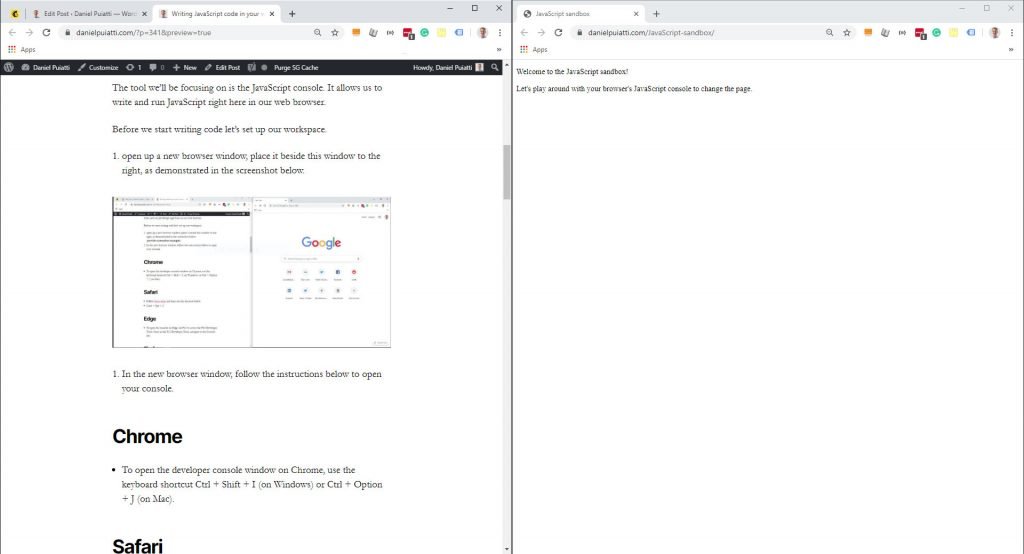
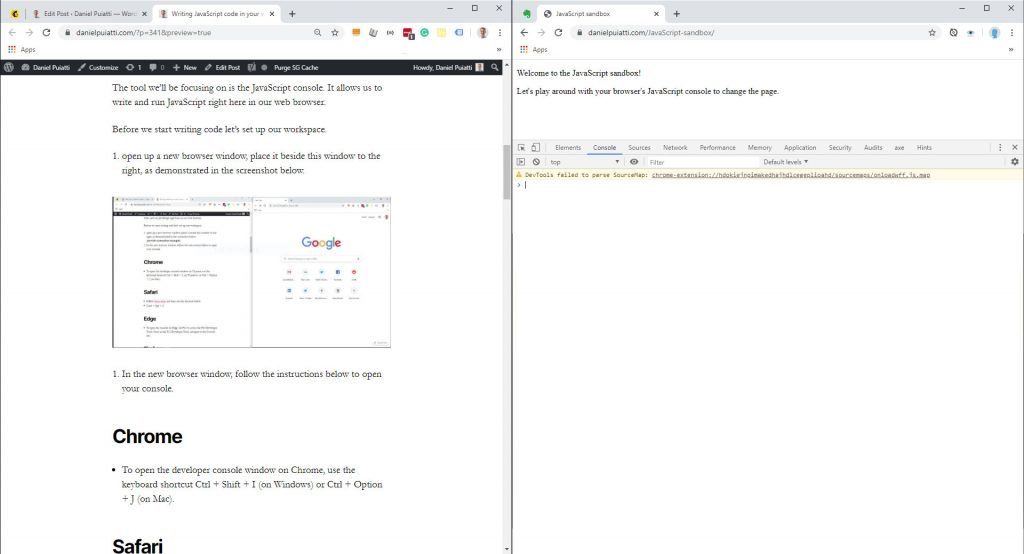
The best way to become familiar with a concept is to practice it. So let’s write an array and access the data in it.
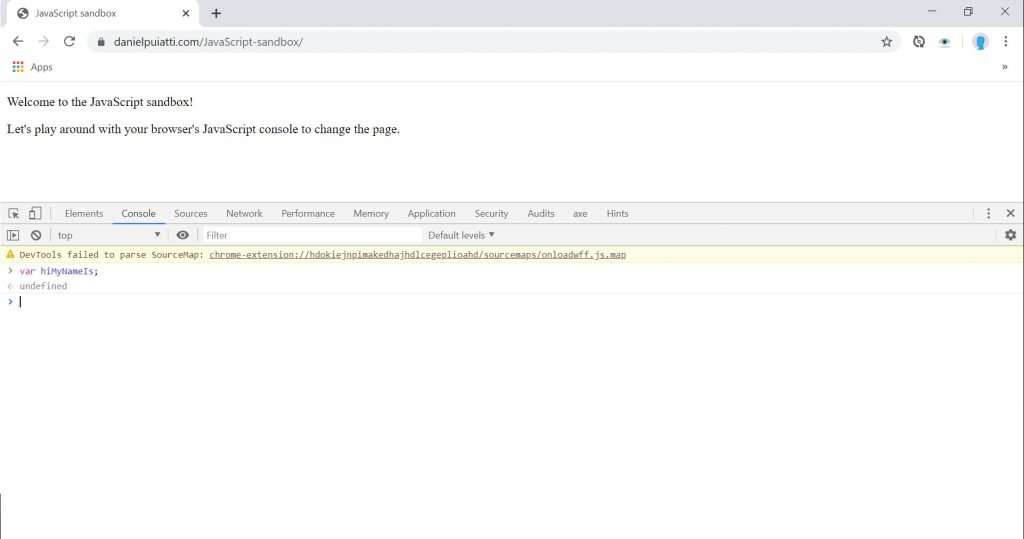
Begin by opening up this page in a new browser window and placing it beside this window with the JavaScript console open.
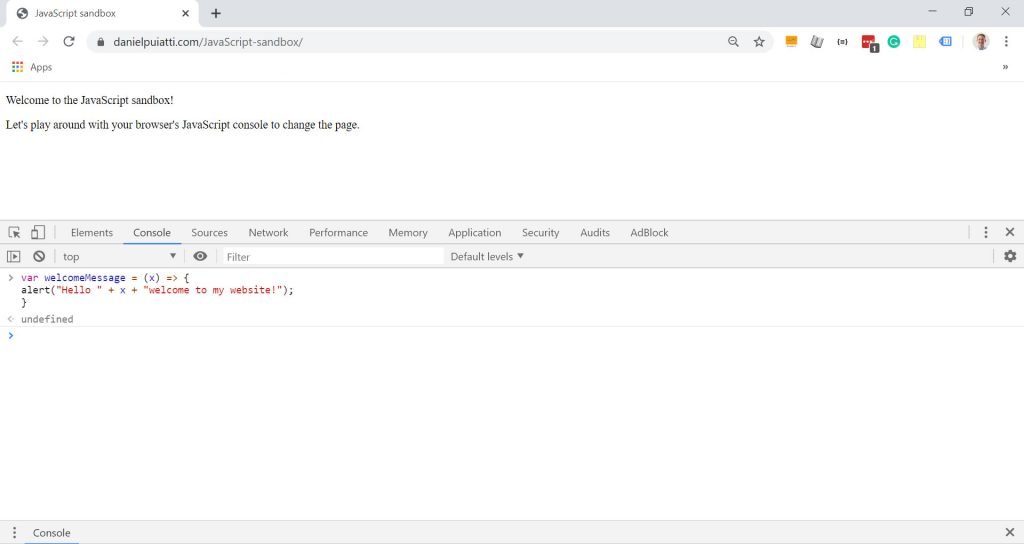
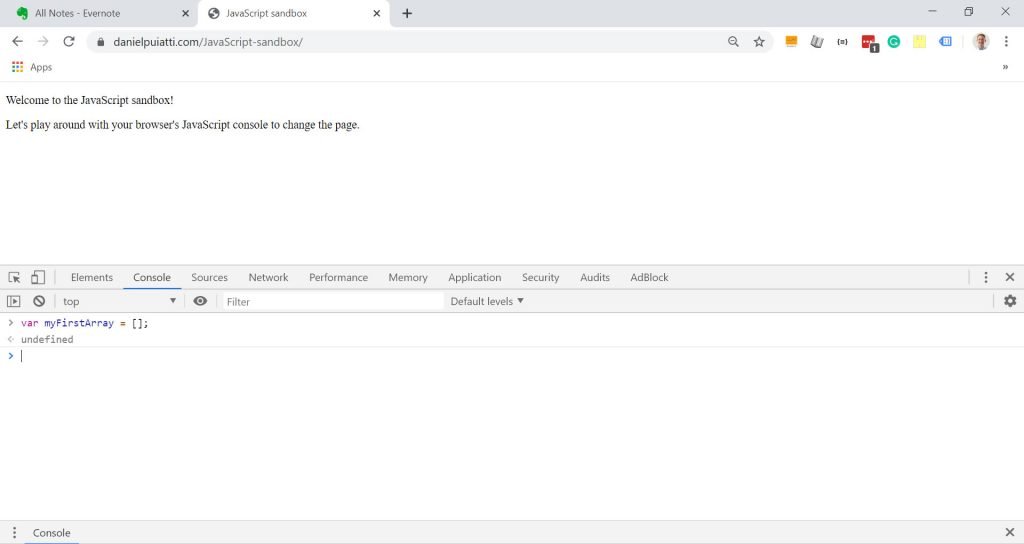
First, let’s create an empty array.
Type the following statement in your console and press enter:
var myFirstArray = [];
You should see something like this:
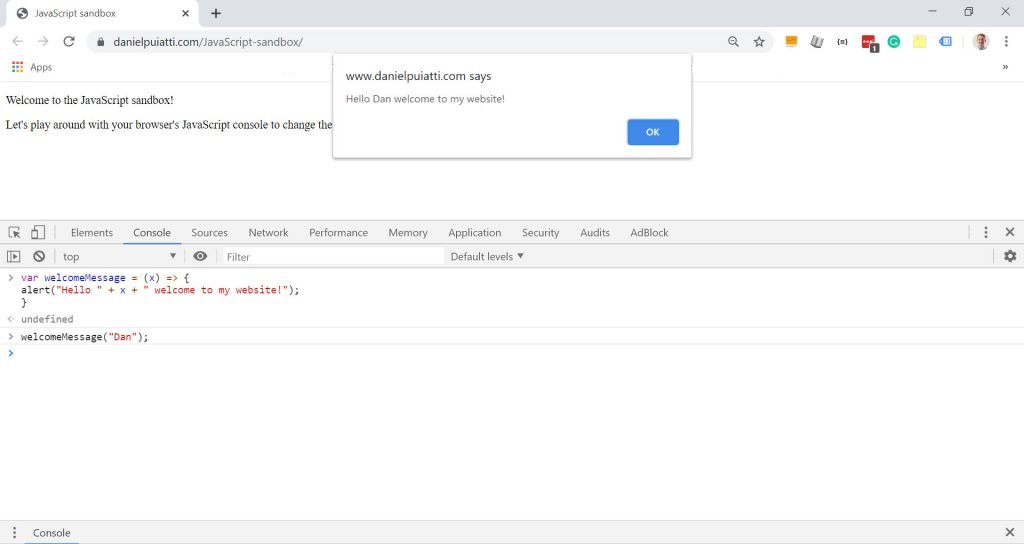
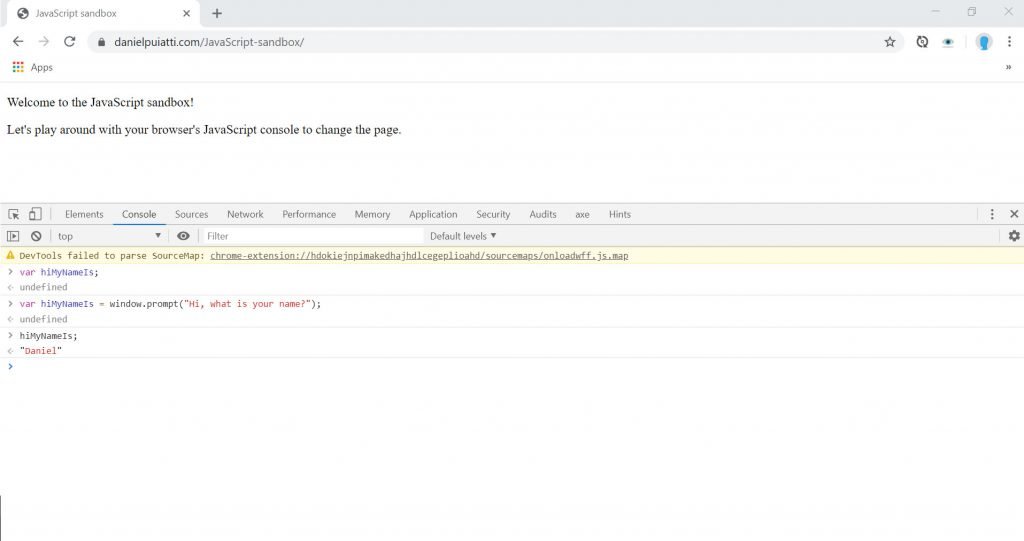
Now let’s add five, string data types, to the array.
Type the following statement in your console and press enter:
myFirstArrayOfColours = [
"red",
"blue",
"green",
"yellow"
];
You should see something like this:
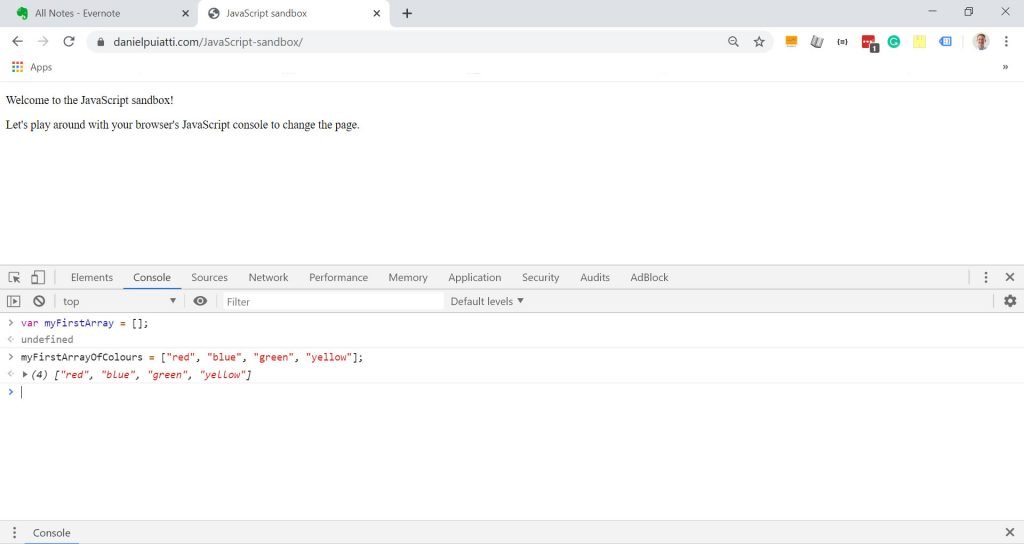
Congratulations, you just created an array and populated it with items!
Accessing items in the array
Let’s take a closer look at what happened when we added items to our array “myFirstArrayOfColours.
Did you notice how your JavaScript console displayed some additional information?
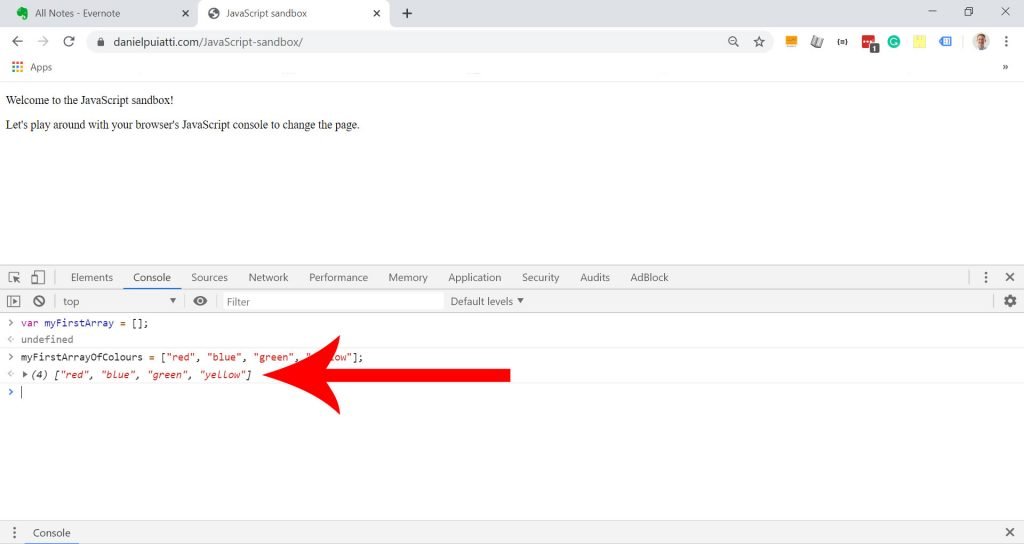
Let’s take a closer look at this, click on the grey arrow ▶ to expand the information.
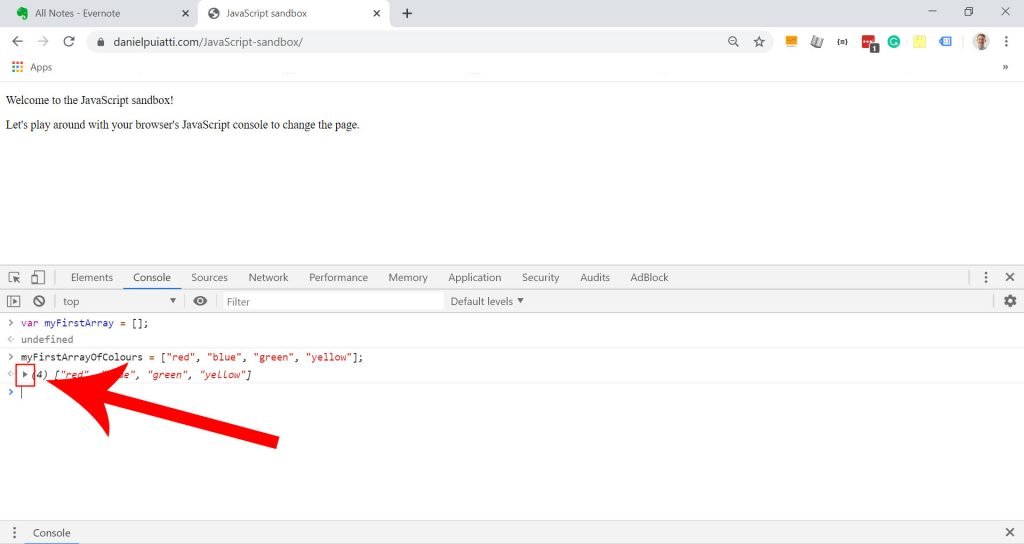
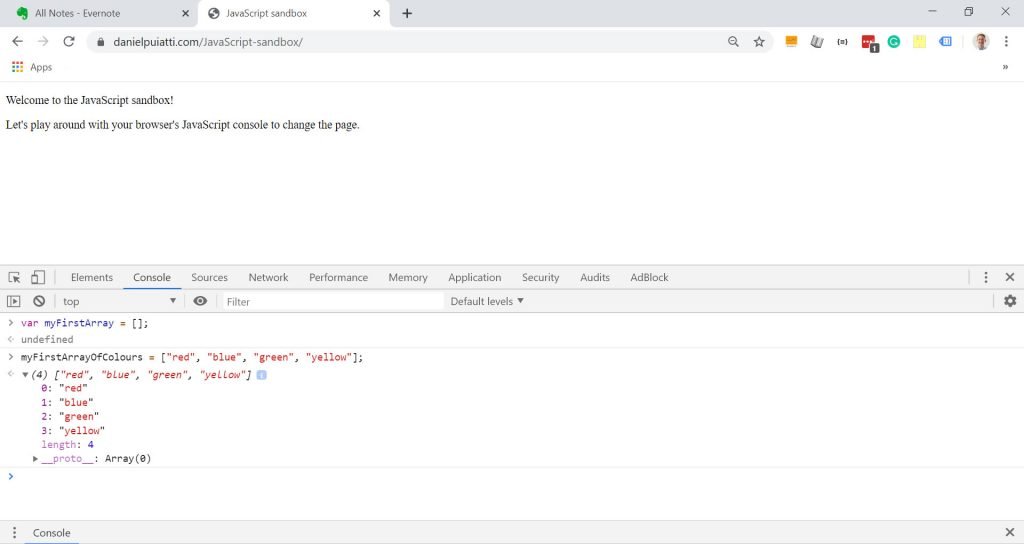
Notice how each of the string data types "red", "blue", "green", "yellow" has a number to the left of it?
When you add items to an array they are assigned a numerical position value starting at 0.
These numerical positions allow you to reference specific items within the array. To do so you use the array name followed by the position number.
Here’s the statement I would type to access the colour green:
myFirstArrayOfColours[2];
And what about arrays within arrays, how would you access those?
Let’s take a look at the example from the beginning of this guide:
var groceryList = [
"eggs",
12,
"butter",
1,
"milk",
1,
"bread",
1,
["chicken","steak","pork"]
];
Let’s say I wanted to access steak from the groceryList array, here’s what I would type:
groceryList[8][1]
The [8] corresponds to the position of the second array within the grocertList array.
The [1] corresponds to the position of steak.
Don’t forget that each array starts at 0. So when you are counting to the position you’d like to access you need to remember to start at 0.
Ok, that’s it for arrays, hopefully, you now understand the joke at the start of this guide: “an endless array of applications…”
Next up we’ll explore how to use JavaScript loops to cycle through each of the items in an array and do some other neat stuff.